Our next step in the Okta / Box integration is to create and configure the Okta
application and users, then extract a few pieces of information that we will
need to connect to Okta in our application.
For this tutorial we will be starting with a blank Okta application and user
dashboard to avoid any negative effects on existing installations that may be
in place, and to ensure that we have admin rights to the instance.
Create an Okta Application
Starting from the Okta developer site, sign up for a new developer
account, or log in under your personal account if you already have one.
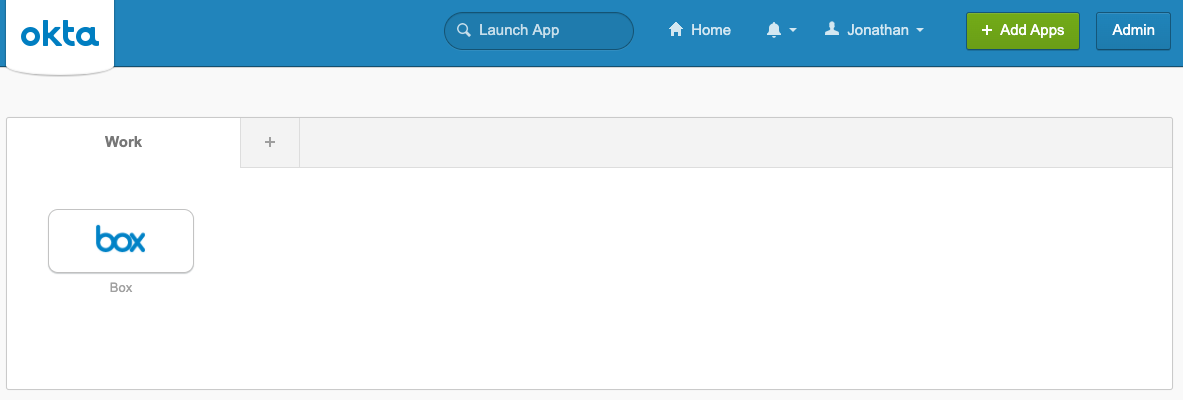
If you’re logging in with an existing account, you should see the Okta
dashboard. Click on the Admin button at the top right.
If you’ve created a new developer account rather than logging into an existing
account, you will have already be redirected to the admin dashboard.
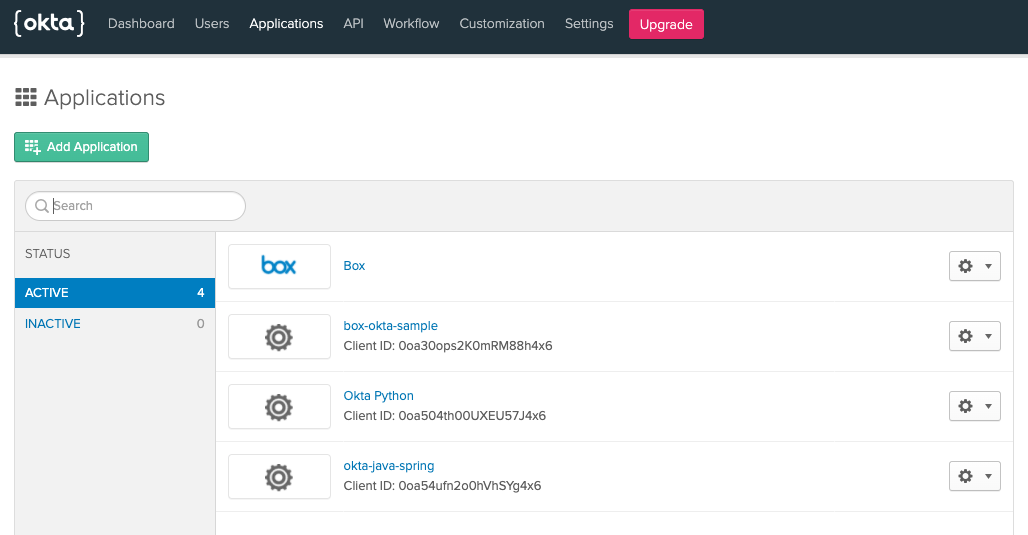
You should now see the admin panel. Click on the Applications option at the
top.
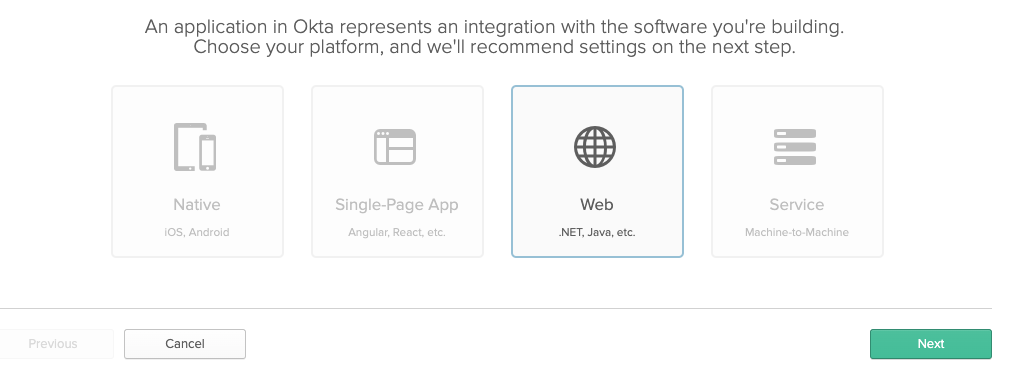
On the application page, click the Add Application button. Select Web
as the application type and click the Next button.
Okta employs both OAuth 2 and OpenID Connect (OIDC)
for application authorization and user authentication, respectively. The OpenID
Connect integration allows us to use baked in OIDC connectors within a number
of popular language frameworks to simplify application and user management by
handling the callback routes and providing methods for logging in,
logging out, and protecting routes into your application.
To simplify this first integration, we’re going to use the default callback
routes and settings for the language and framework OIDC connector. Depending on
your preferred integration type, the configuration settings will slightly
change.
Fill out the application details with the following configuration settings:
Click the Done button to create the application and be dropped on to the
general settings of the application.
Copy Application Credentials
Using the configuration files set up in the last step, we next have to add in
the Okta application org and app details within the files.
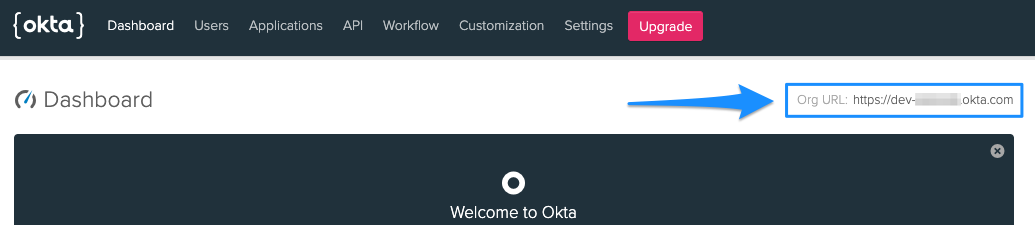
Most Okta application information can be found on the general settings page,
with the exception of the Org URL that is used in the configuration URIs to
reference back to your Okta organization. To obtain the Org URL, go to the
dashboard of your Okta admin console. The Org URL will be in the top right
corner of the screen.
Depending on the language and framework previously chosen, we’ll set up the
appropriate configuration files.
Create a User
Our last step in the Okta setup is to create a test user that we will use to
log in to the application.
- Go to the Users section of the Okta admin dashboard.
- Click on the Add Person button.
- Enter all appropriate user info. Under password, select Set by admin and input a password for the user. Also deselect the User must change password on first login option. You will use the username and password to log in. These settings will only be used for testing purposes and are not best practices for user creation and security.
- Click the Save button to create the user.
Summary
- You created an Okta application.
- You updated the Okta configuration information in the local application.
- You created a test Okta user.
Last modified on November 12, 2025